I fixed my headphones and here is what I found
My headphones behaved weirdly, like a button was stuck. My first instinct was to look online to find information about how to open them up, but I found nothing. So here is what I learned while taking my Beyerdynamic Lagoon ANC headphones apart. Note: I have only taken apart the right side with the control pads.
1. Opening up the ear cups 
This step is fairly straight forward: loosen up the six clips behind the ear pads. Caution, I broke my ear cups a bit while doing that. I recommend getting a pair of picks for that task. One to loosen the clip and one to slide between the pad and the rest of the cup to prevent the clips from slipping back into place.
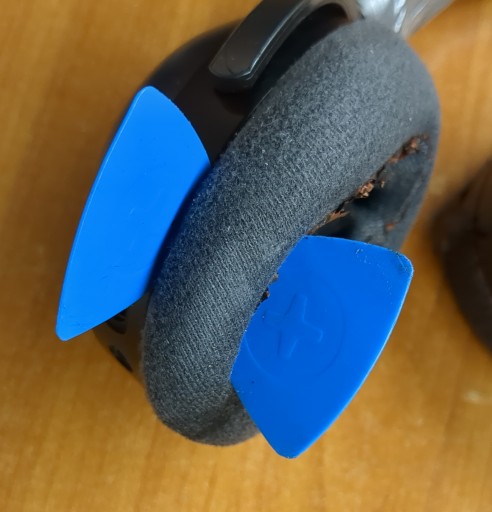
Image 1: stabbed headphones.
Note: the ear pads have a little notch that only fits into the ear cups in one way. See image 2.
2. Disconnecting the speaker 
After removing the ear cups, there are four Phillips screws.
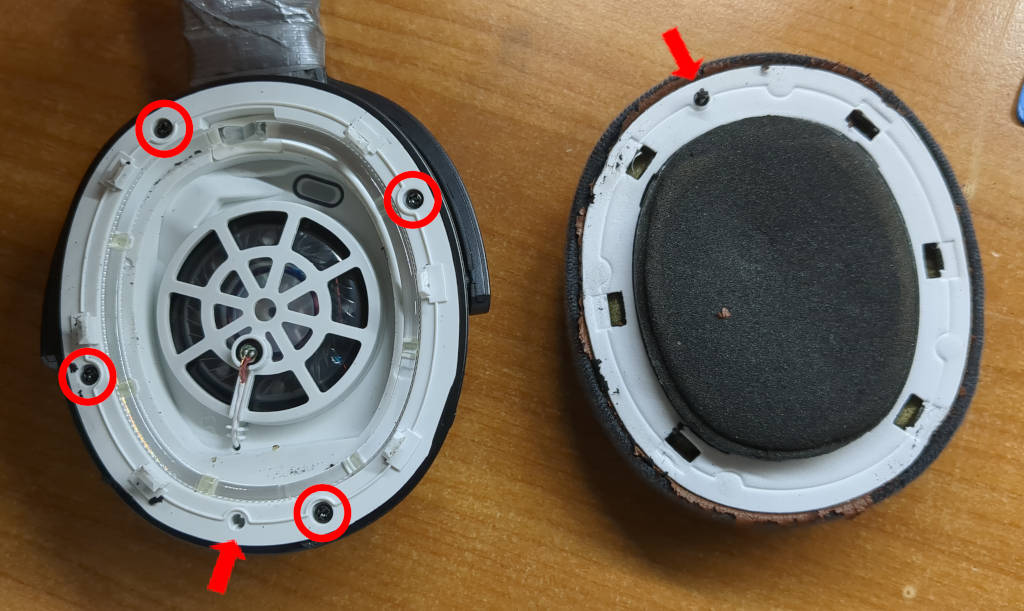
Image 2: screws of $SIZE, I touch computers, not hardware.
To take out the speaker, loosen the screws and then carefully take it out. The speaker is connected with a ribbon cable, be careful, see image 3 and 4.
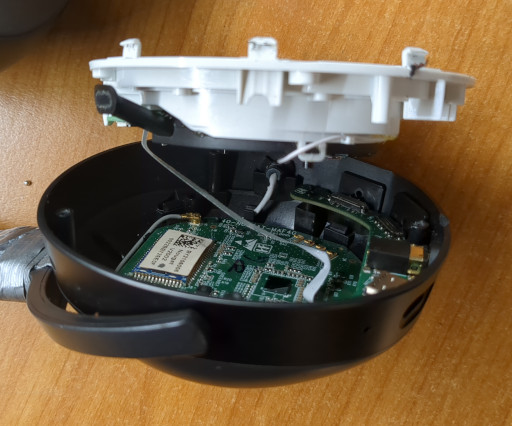
Image 3: ribbon cables are annoying.
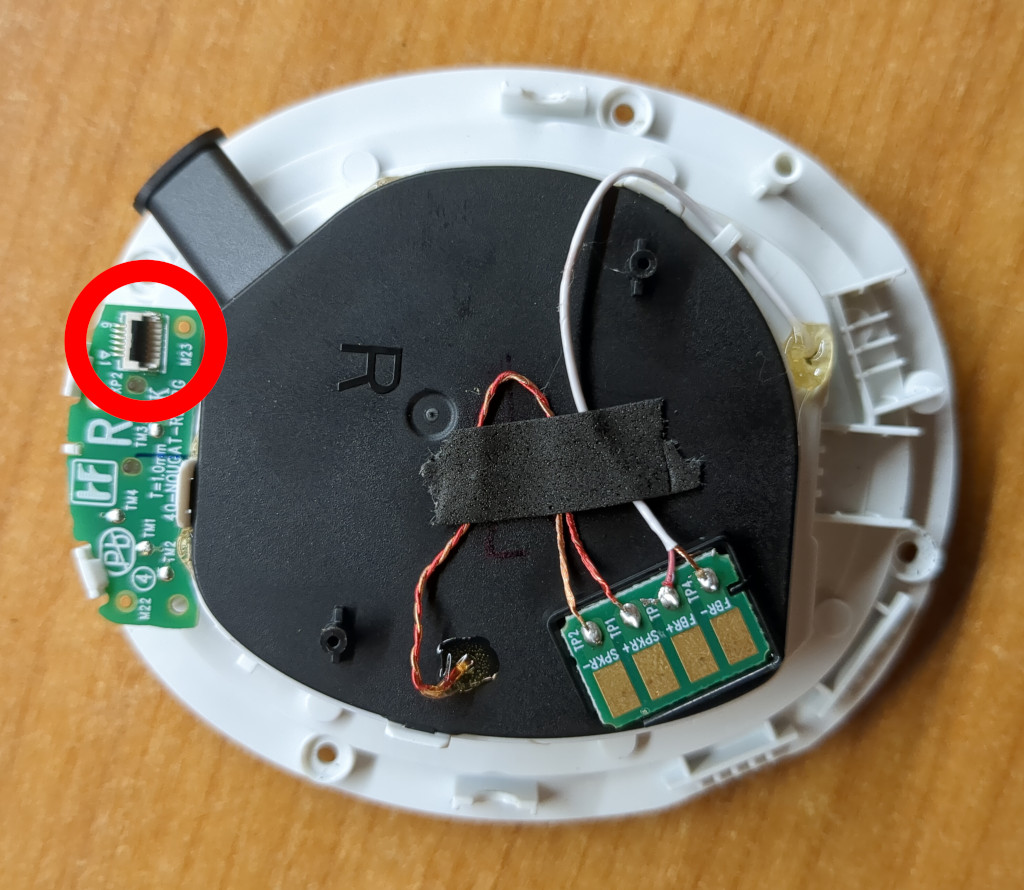
Image 4: funny speaker testpoints.
3. Take out the input board 
The input board is held in place with two Phillips screws of the same size as the other ones. Disconnect the ribbon cable that connects the board to the main PCB and carefully take it out. While doing that, watch out with the two buttons while taking it out or putting it back in, they are sitting loosely in the ear cups once the speaker is taken out.
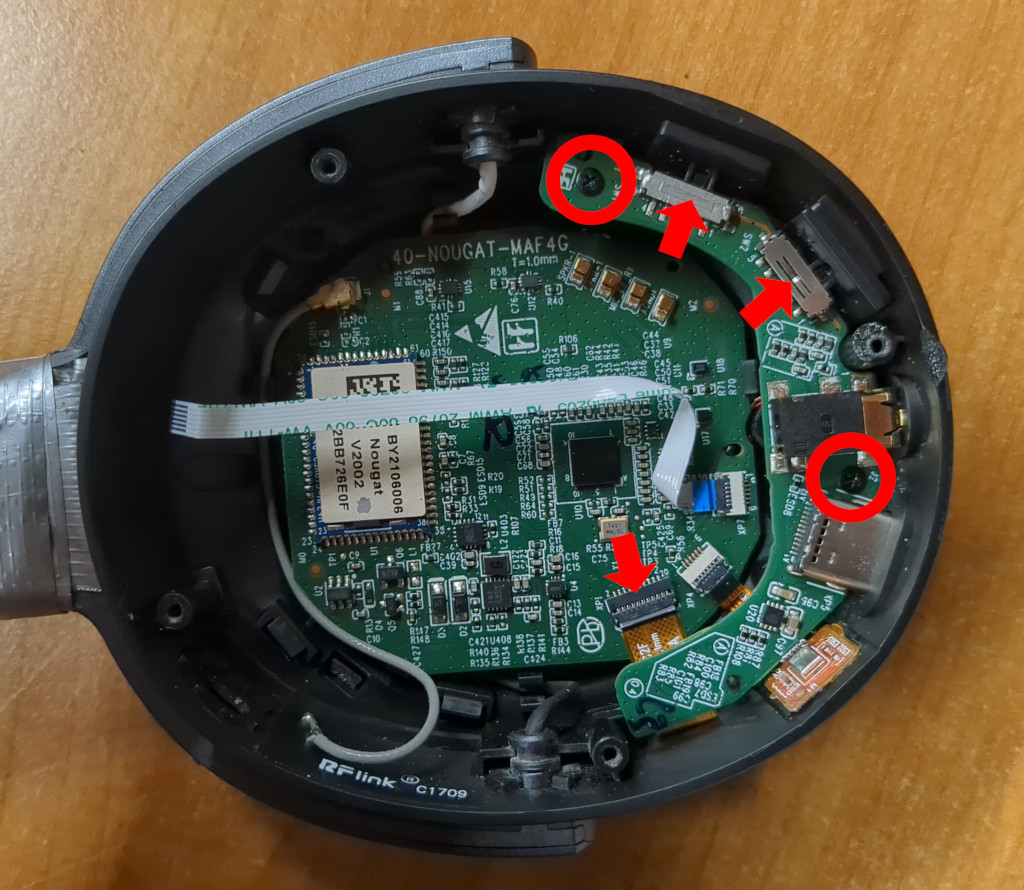
Image 5: one of these switches is broken in this image…
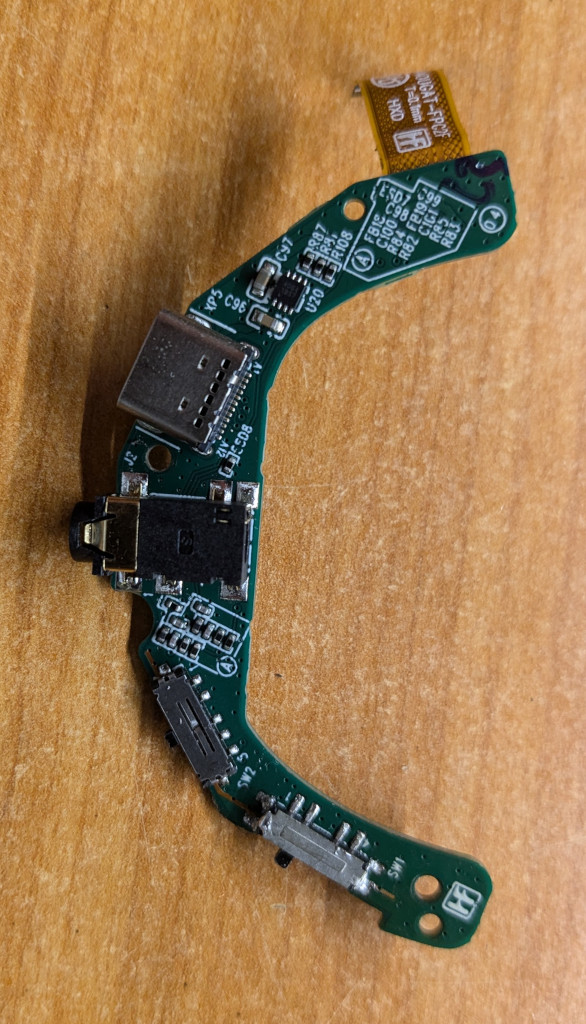
Image 6: I still have a headphone jack, luxury.
I managed to fix my issue with a bit of contact cleaner and soldering after I broke a piece while reassembling the headphones. Be extra careful while putting the buttons back while reassembling the headphones. They have to properly align with the SMD SIP switches.
Thanks to cpresser for helping me to get started with the disassembly and nick and hcsch for proofreading this ^-^/